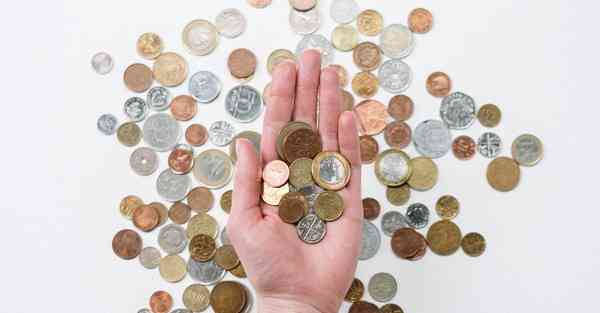
由于工作需要制作照片墙,就顺便爬了一波美景图,用来练手。
先给出我爬取的网站地址 http://www.win4000.com/zt/guowaifengguang_1.html
这里的选择器很多,有很多组合方式,我这里给出最简单的’.Left_bar li’,这样可以定位到每个li,然后再依次获取当中图片和文本。

需要注意的是获得的图片链接只是缩略图,去除掉尺寸即可访问原图。

import re
import requests
from pyquery import PyQuery as pq
# 控制页数
for page in range(1, 6):response = requests.get("http://www.win4000.com/zt/guowaifengguang_"+str(page)+".html")html = response.textdoc = pq(html)# 获得图片和标题所在标签构成的数组array = doc.find(".Left_bar li")# 遍历所得的数组for item in array.items():title = item.text()     # 取出标题文字img = item.find("img")  # 定位到其中的img标签thumb = img.attr("data-original")   # 取出img的data-original属性,实际上是缩略图的链接pattern = re.compile(r'(_\d{3}_\d{3})') # 描述缩略图尺寸的正则表达式src = re.sub(pattern, "", thumb)    # 去掉缩略图尺寸的限制即可得到原图链接# 下载图片pic = requests.get(src)with open("./pics/"+title+".jpg", 'wb') as f:f.write(pic.content)f.flush()print(title)print(src)
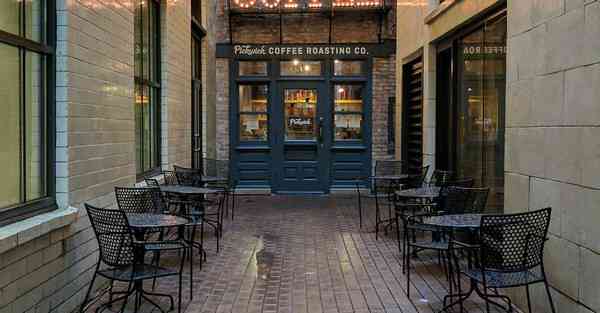
接着去自己的目录下就能看到下载的图片了

import os
from PIL import Image
titles = os.listdir("./pics")   # 获得所有图片的文件名列表
lines=10        # 每行的图片数
each_width=192  # 每张图片的宽
each_height=108 # 每张图片的高
image = Image.new("RGB", (each_width*lines, each_height*lines)) # 准备空画布
# 记录坐标
x=0
y=0
# 循环画图
for i in range(0, lines**2):        # 这里我假定行列图片数一样,不一样的话可以简单修改img = Image.open("./pics/"+titles[i])img = img.resize((each_width, each_height)) # 调整尺寸image.paste(img, (x*each_width, y*each_height)) # 粘贴到指定位置x += 1if x == lines:     # 满一行重置x,y+=1x = 0y += 1
image.show()
image.save("beautiful_scenery_wall.jpg")
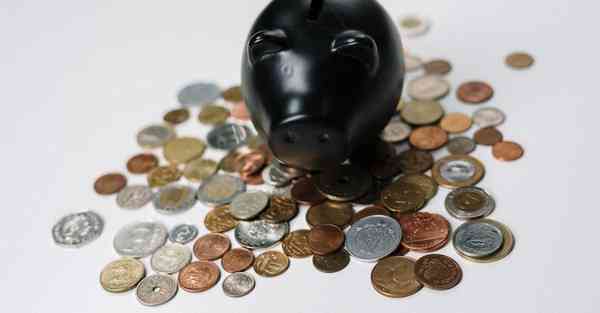
前端爱心照片墙代码?最后即可得到照片墙

import os
import imageio
import numpy as np
from PIL import Image
from images2gif import writeGif     # 这个已经过时不推荐使用,会出现不少版本不兼容问题
outfilename = "my.gif" # 转化的GIF图片名称
filenames = os.listdir("./pics")
frames = []
count = 0
for image_name in filenames:im = Image.open("./pics/"+image_name)           # 读取方式上存在略微区别,由于是直接读取数据,并不需要后续处理im = im.convert("RGB")  # 通过convert将RGBA格式转化为RGB格式,以便后续处理im = np.array(im)frames.append(im)count += 1if count >=3:break
# writeGif(outfilename, frames, duration=0.1, subRectangles=False) # 这个已经过时不推荐使用,会出现不少版本不兼容问题
imageio.mimsave(outfilename, frames, 'GIF', duration=1) # 生成方式也差不多
版权声明:本站所有资料均为网友推荐收集整理而来,仅供学习和研究交流使用。

工作时间:8:00-18:00
客服电话
电子邮件
admin@qq.com
扫码二维码
获取最新动态