網絡爬蟲(又被稱為網頁蜘蛛,網絡機器人)就是模擬瀏覽器發送網絡請求,接收請求響應,一種按照一定的規則,自動地抓取互聯網信息的程序。
原則上,只要是瀏覽器(客戶端)能做的事情,爬蟲都能夠做。
http://github.com/
headers = {'User-Agent': 'python-requests/2.25.1', 'Accept-Encoding': 'gzip, deflate', 'Accept': '*/*', 'Connection': 'keep-alive'}
response = requests.get('http://github.com/',headers=headers)
print(response.request.headers)
pycharm爬取網頁數據,
{'User-Agent': 'python-requests/2.25.1', 'Accept-Encoding': 'gzip, deflate', 'Accept': '*/*', 'Connection': 'keep-alive'}
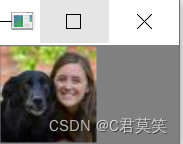
查找到圖片信息
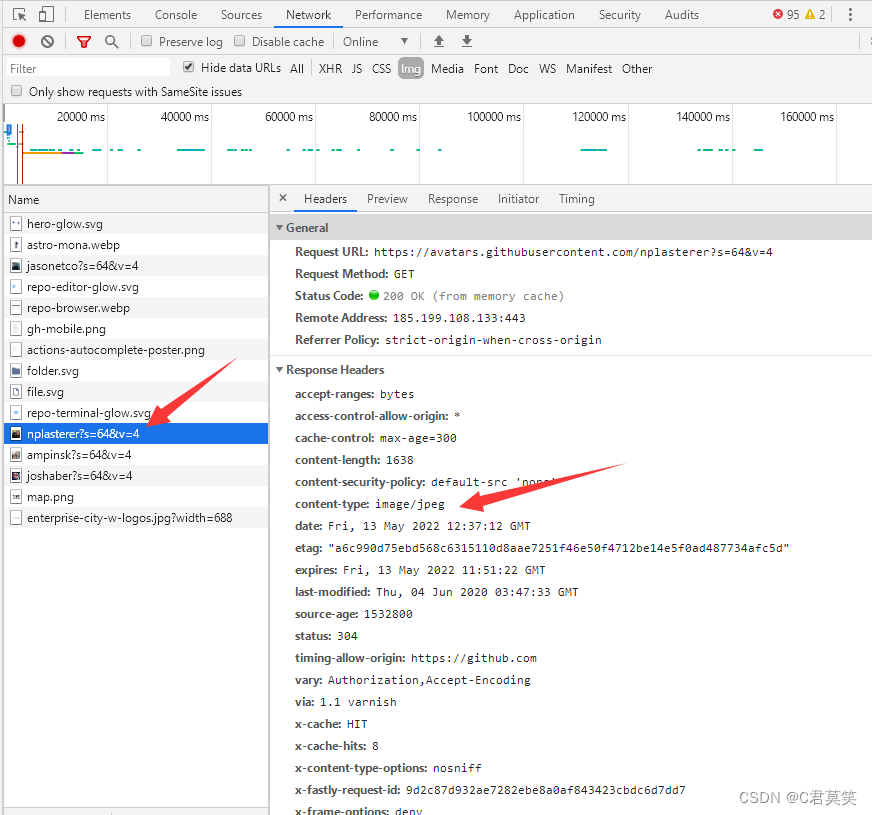
獲取headers:
headers = {'User-Agent': 'python-requests/2.25.1', 'Accept-Encoding': 'gzip, deflate', 'Accept': '*/*', 'Connection': 'keep-alive'}
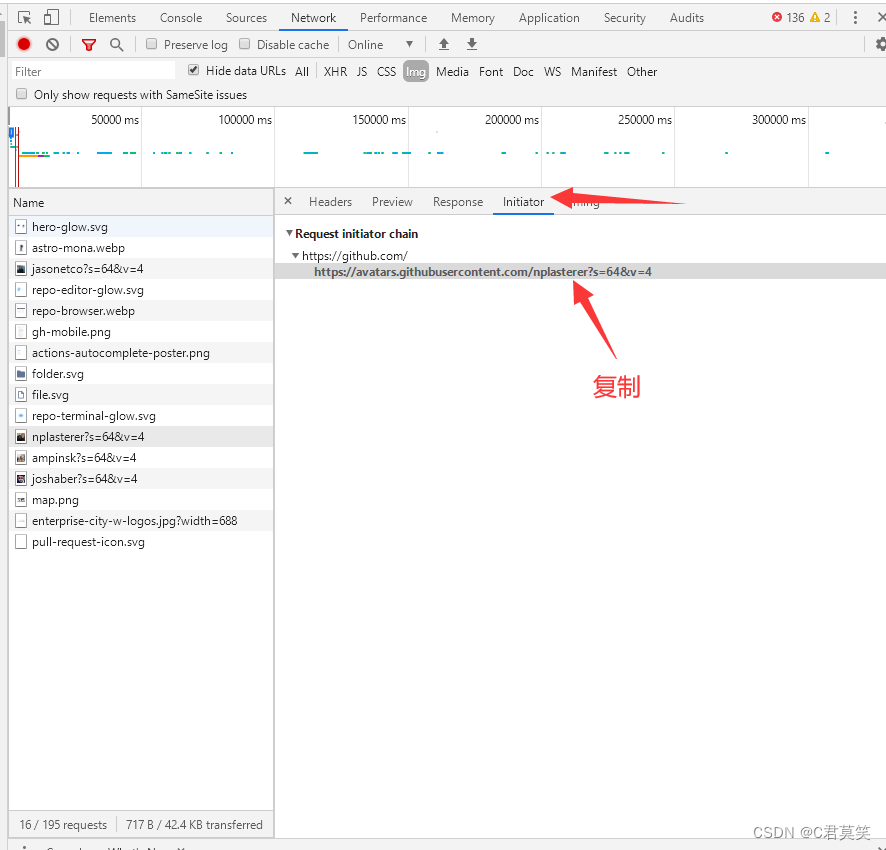
response = requests.get('https://avatars.githubusercontent.com/nplasterer?s=64&v=4',headers=headers)
print(response.request.headers)
with open('icon.ico', 'wb') as f:f.write(response.content)print("爬取圖片成功")
img = cv2.imread("icon.ico")
cv2.imshow('icon',img)
cv2.waitKey(0)
import requests
import  cv2headers = {'User-Agent': 'python-requests/2.25.1', 'Accept-Encoding': 'gzip, deflate', 'Accept': '*/*', 'Connection': 'keep-alive'}
response = requests.get('https://avatars.githubusercontent.com/nplasterer?s=64&v=4',headers=headers)
print(response.request.headers)
with open('icon.ico', 'wb') as f:f.write(response.content)print("爬取圖片成功")
img = cv2.imread("icon.ico")
cv2.imshow('icon',img)
cv2.waitKey(0)
版权声明:本站所有资料均为网友推荐收集整理而来,仅供学习和研究交流使用。

工作时间:8:00-18:00
客服电话
电子邮件
admin@qq.com
扫码二维码
获取最新动态